Most of us, both women and men, have had this problem at least once in our lives. If not, then that day will most certainly come, you can be sure of it.
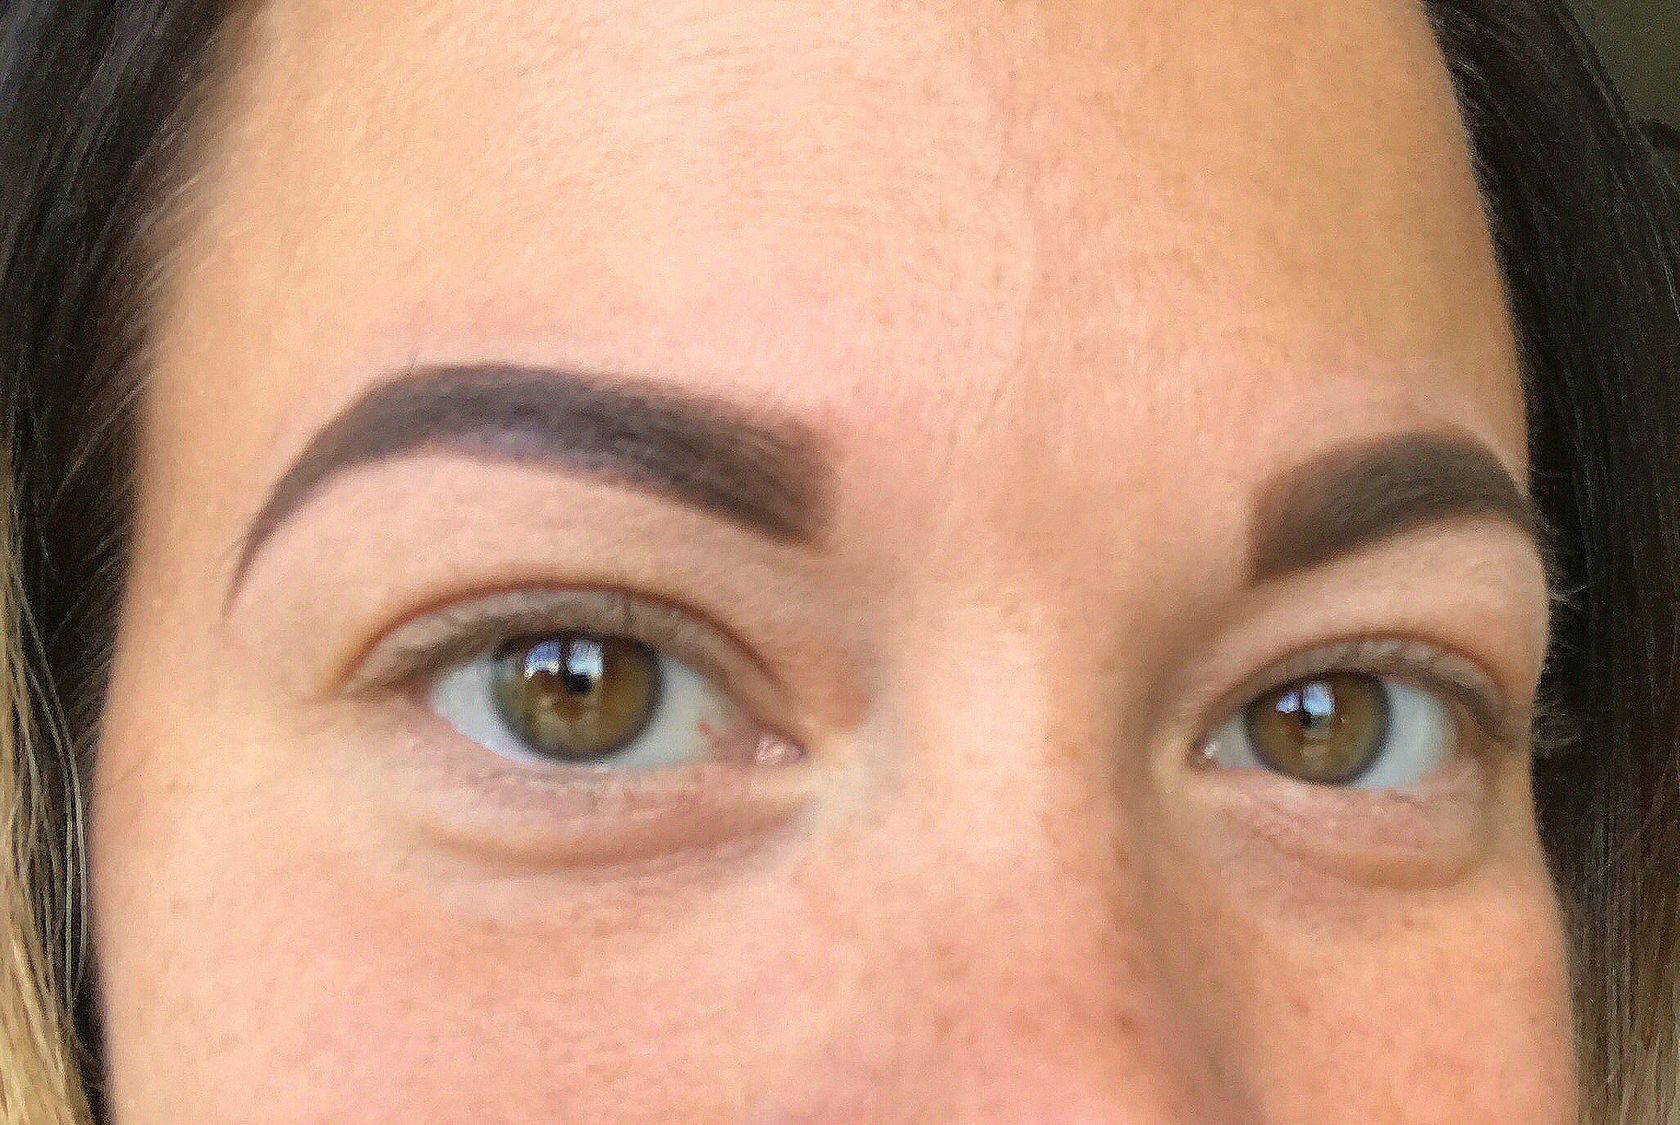
Dark circles and bags under your eyes make us all look older and more tired. Don’t be discouraged, though, there are numerous things that you can do to minimize the appearance of these with the help of various masks, creams, by drinking water and so forth. But, in this tutorial, I will show you how to use makeup to cover these annoyances and look fresher and even younger for the day.
Step 1 – Always start by cleaning your skin with skin care products (such as a facial cleanser or a skin tonic) that is specially made for your skin type. After this, it is REALLY important that you moisturize the skin with a facial cream and it’s even better if you also apply an under-eye cream under your eyes.
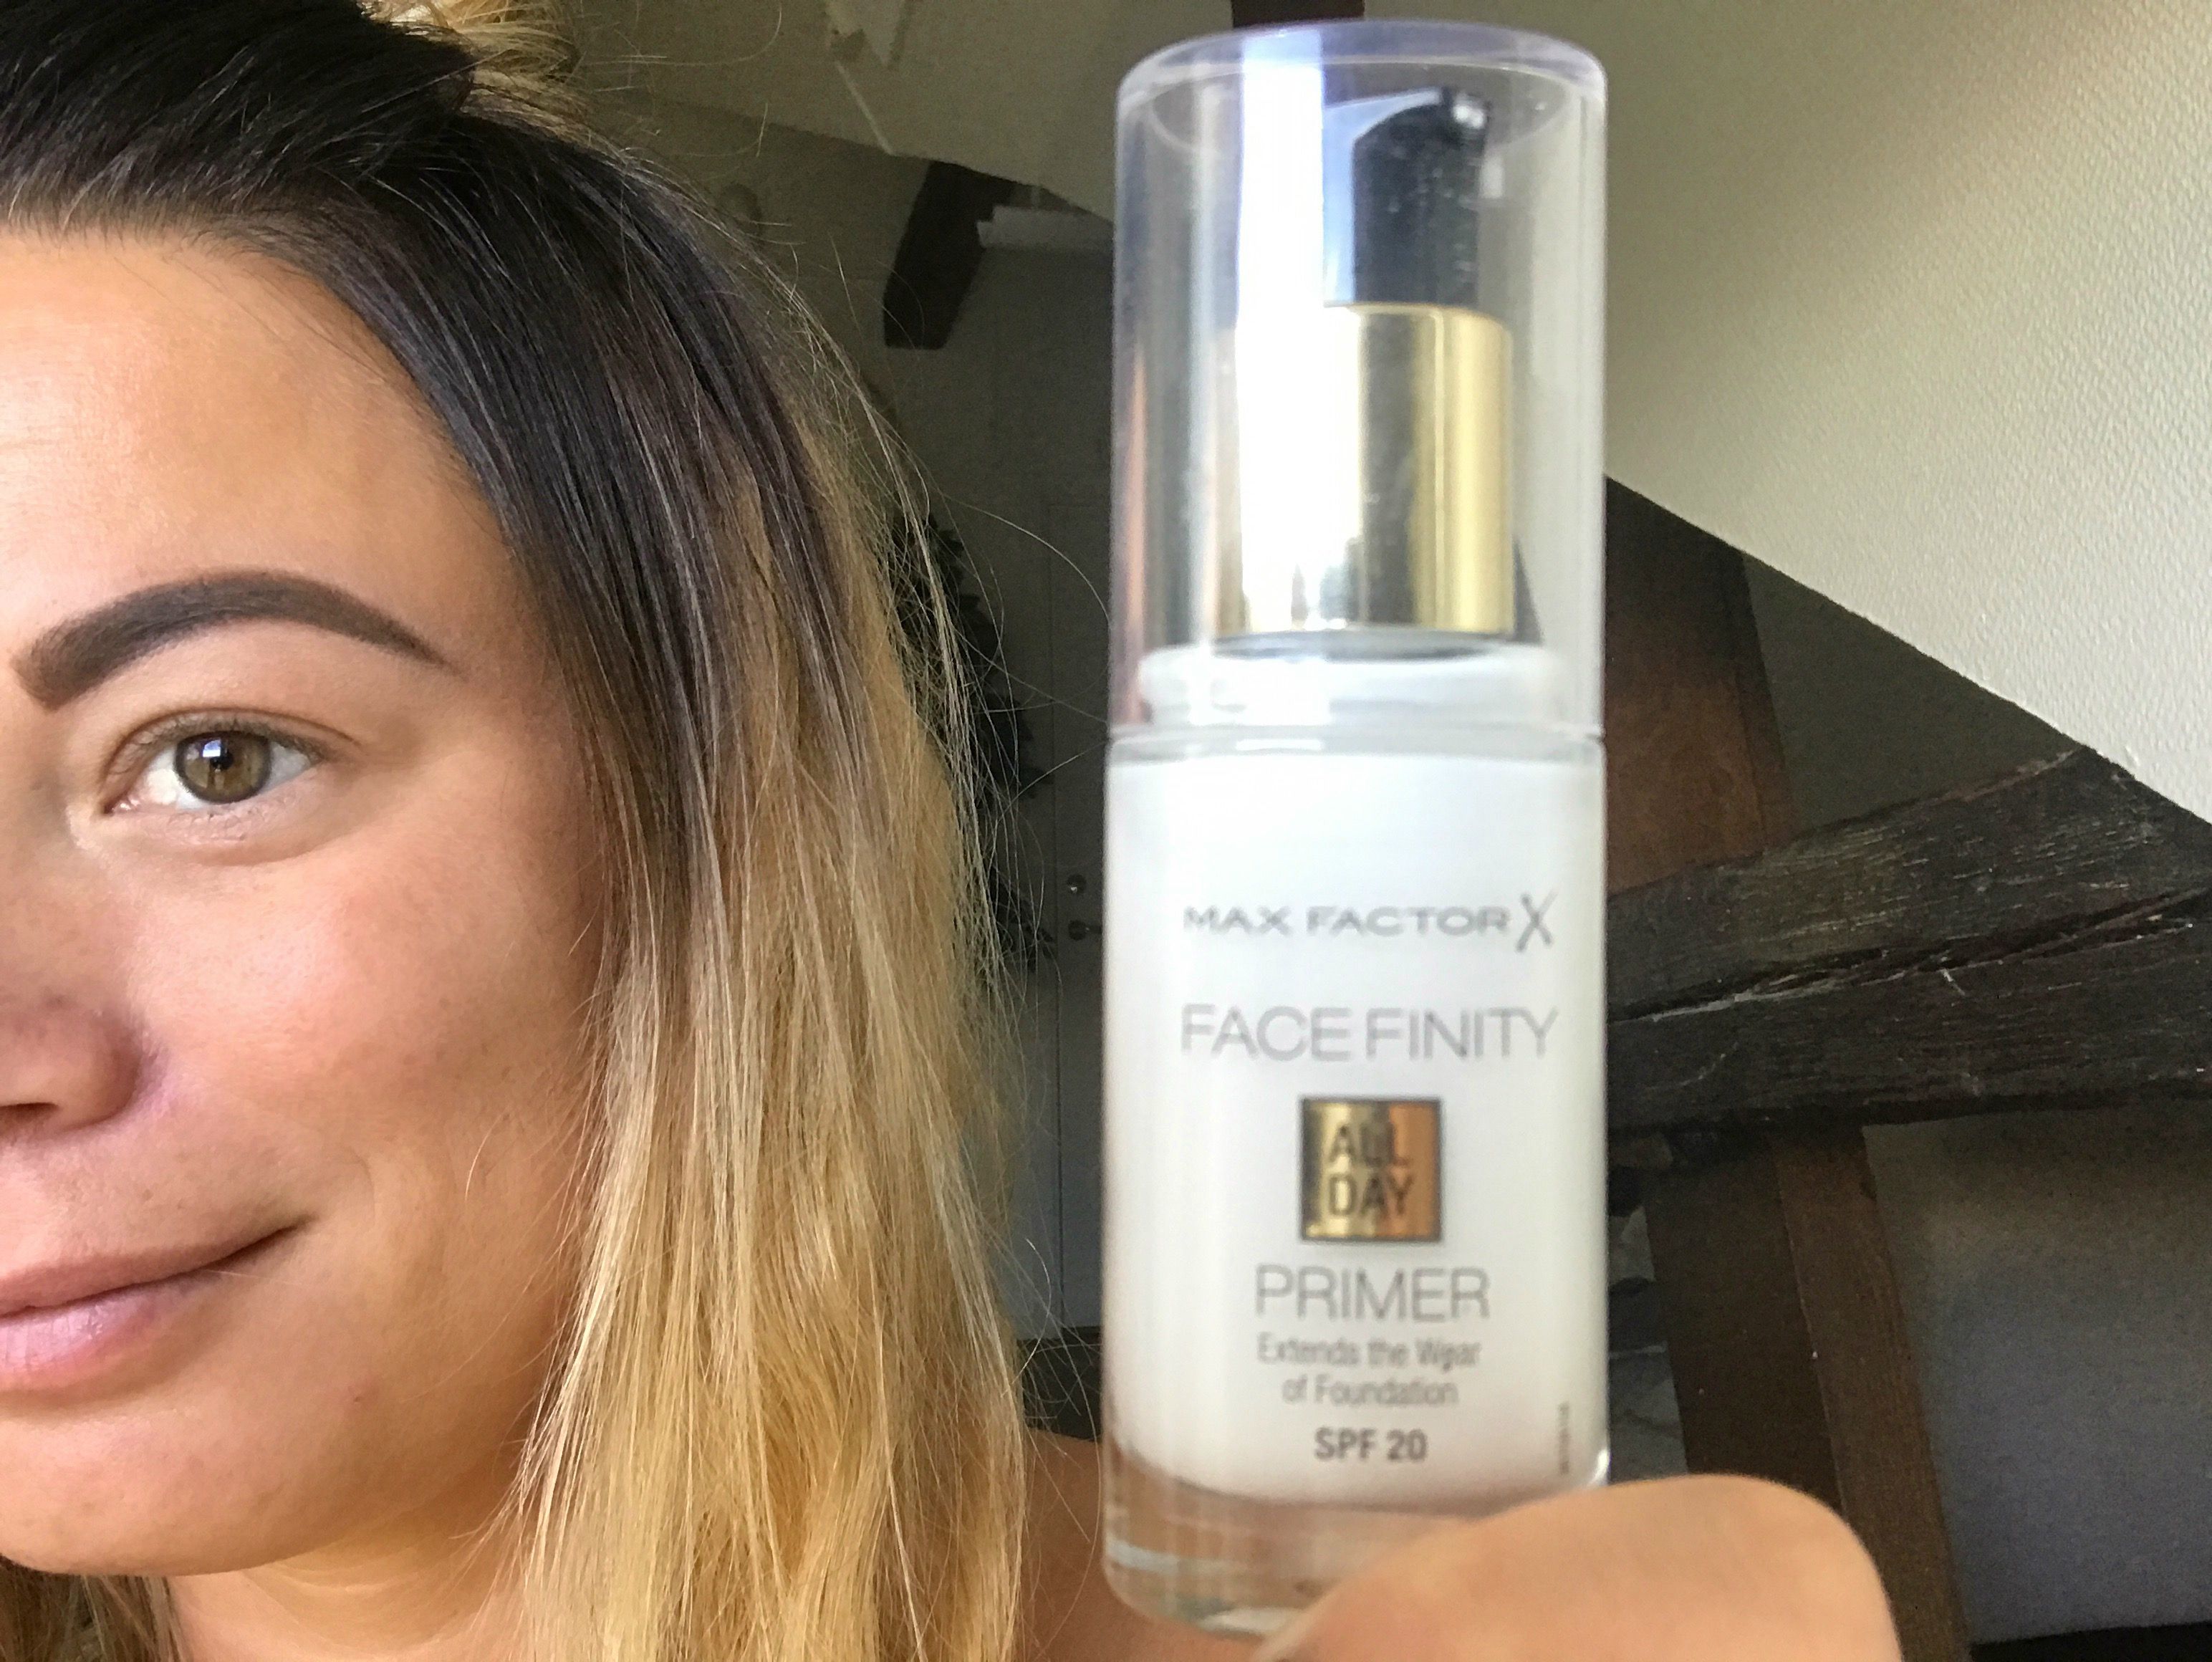
Step 2 – When the applied creams have been absorbed by the skin for 1 minute, it’s time to apply a primer to your face. A primer is applied to make the makeup last longer during the day. The one that I use also has SPF 20, which is really good as it protects your skin from ultraviolet UV-rays from the sun.
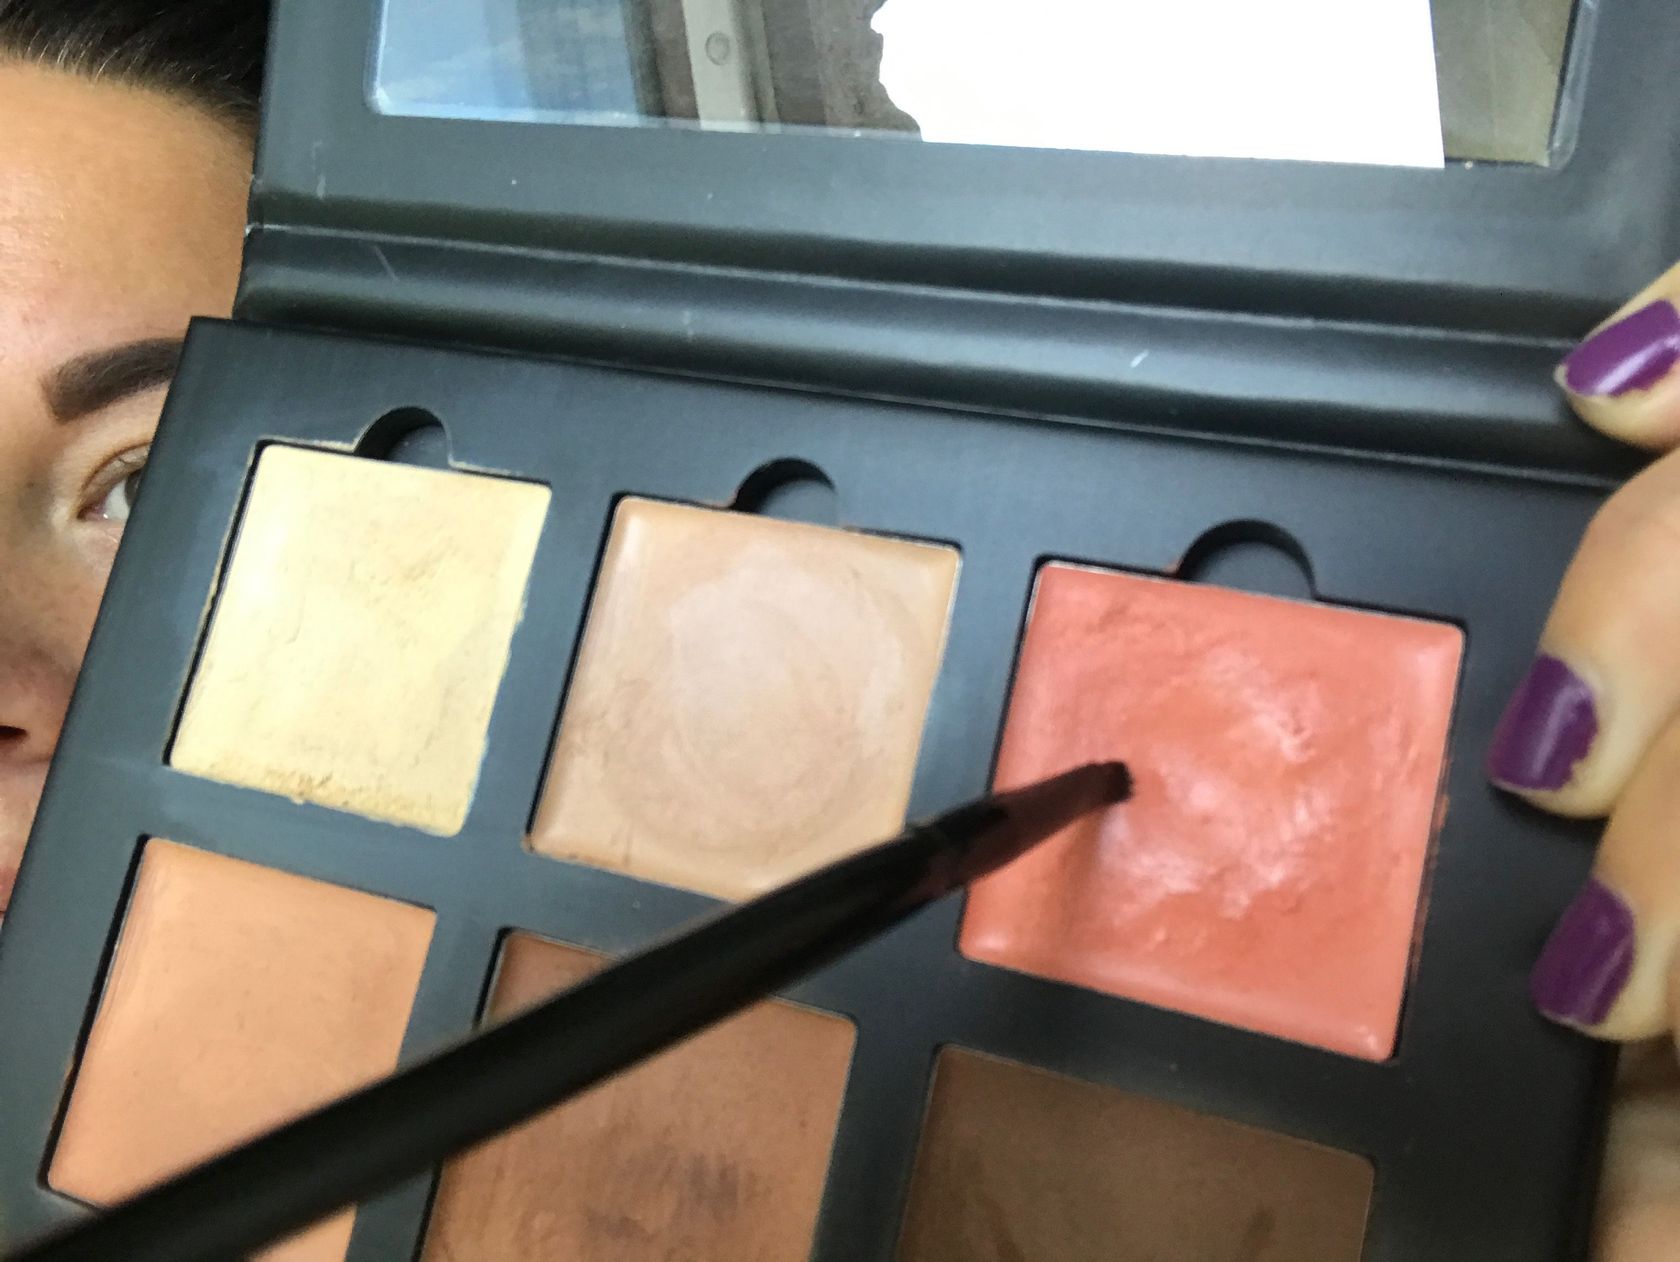
Step 3 – Now it’s time to start applying a red/orange color where the skin is dark under your eyes. If you take a look at the color wheel below you can see that you should always pick the color opposite to the color that you want to cover or hide. As you can probably tell, the red/orange color covers blue nuances.


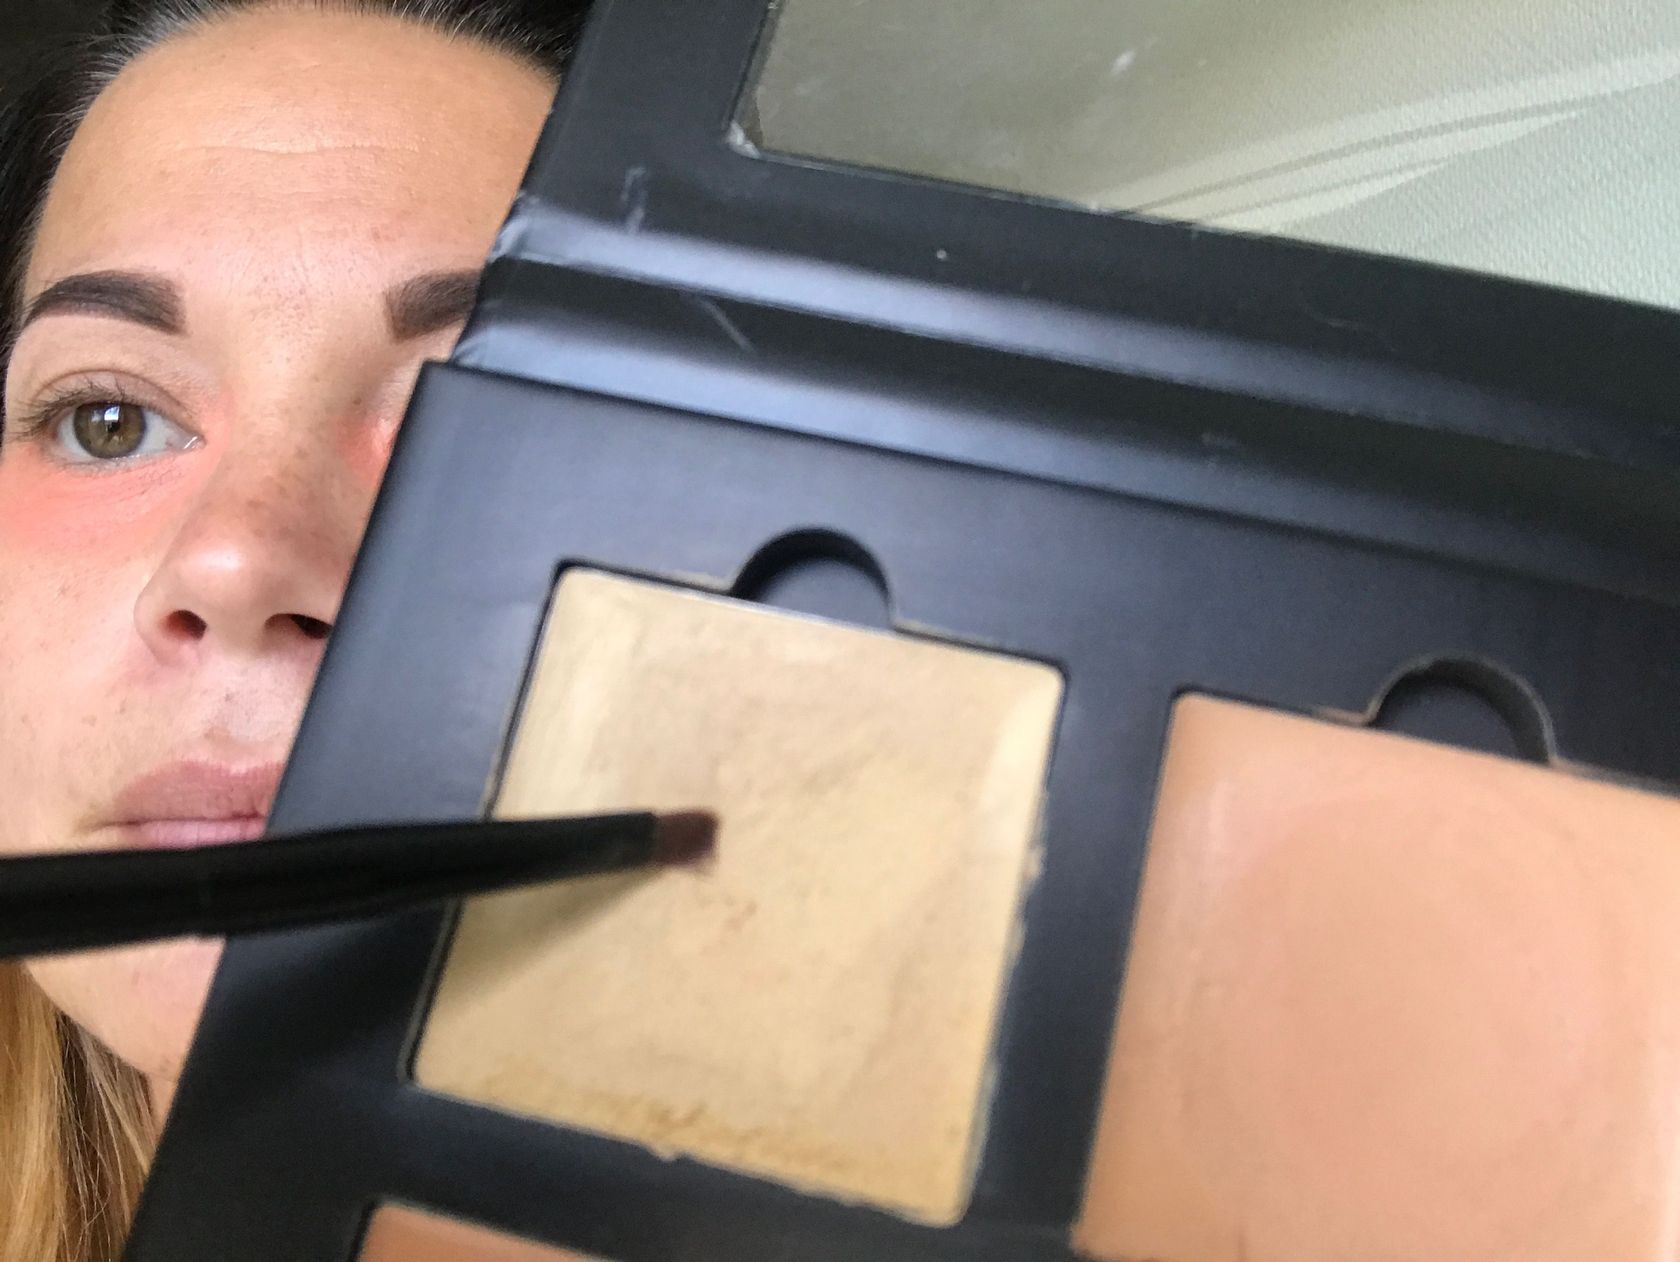
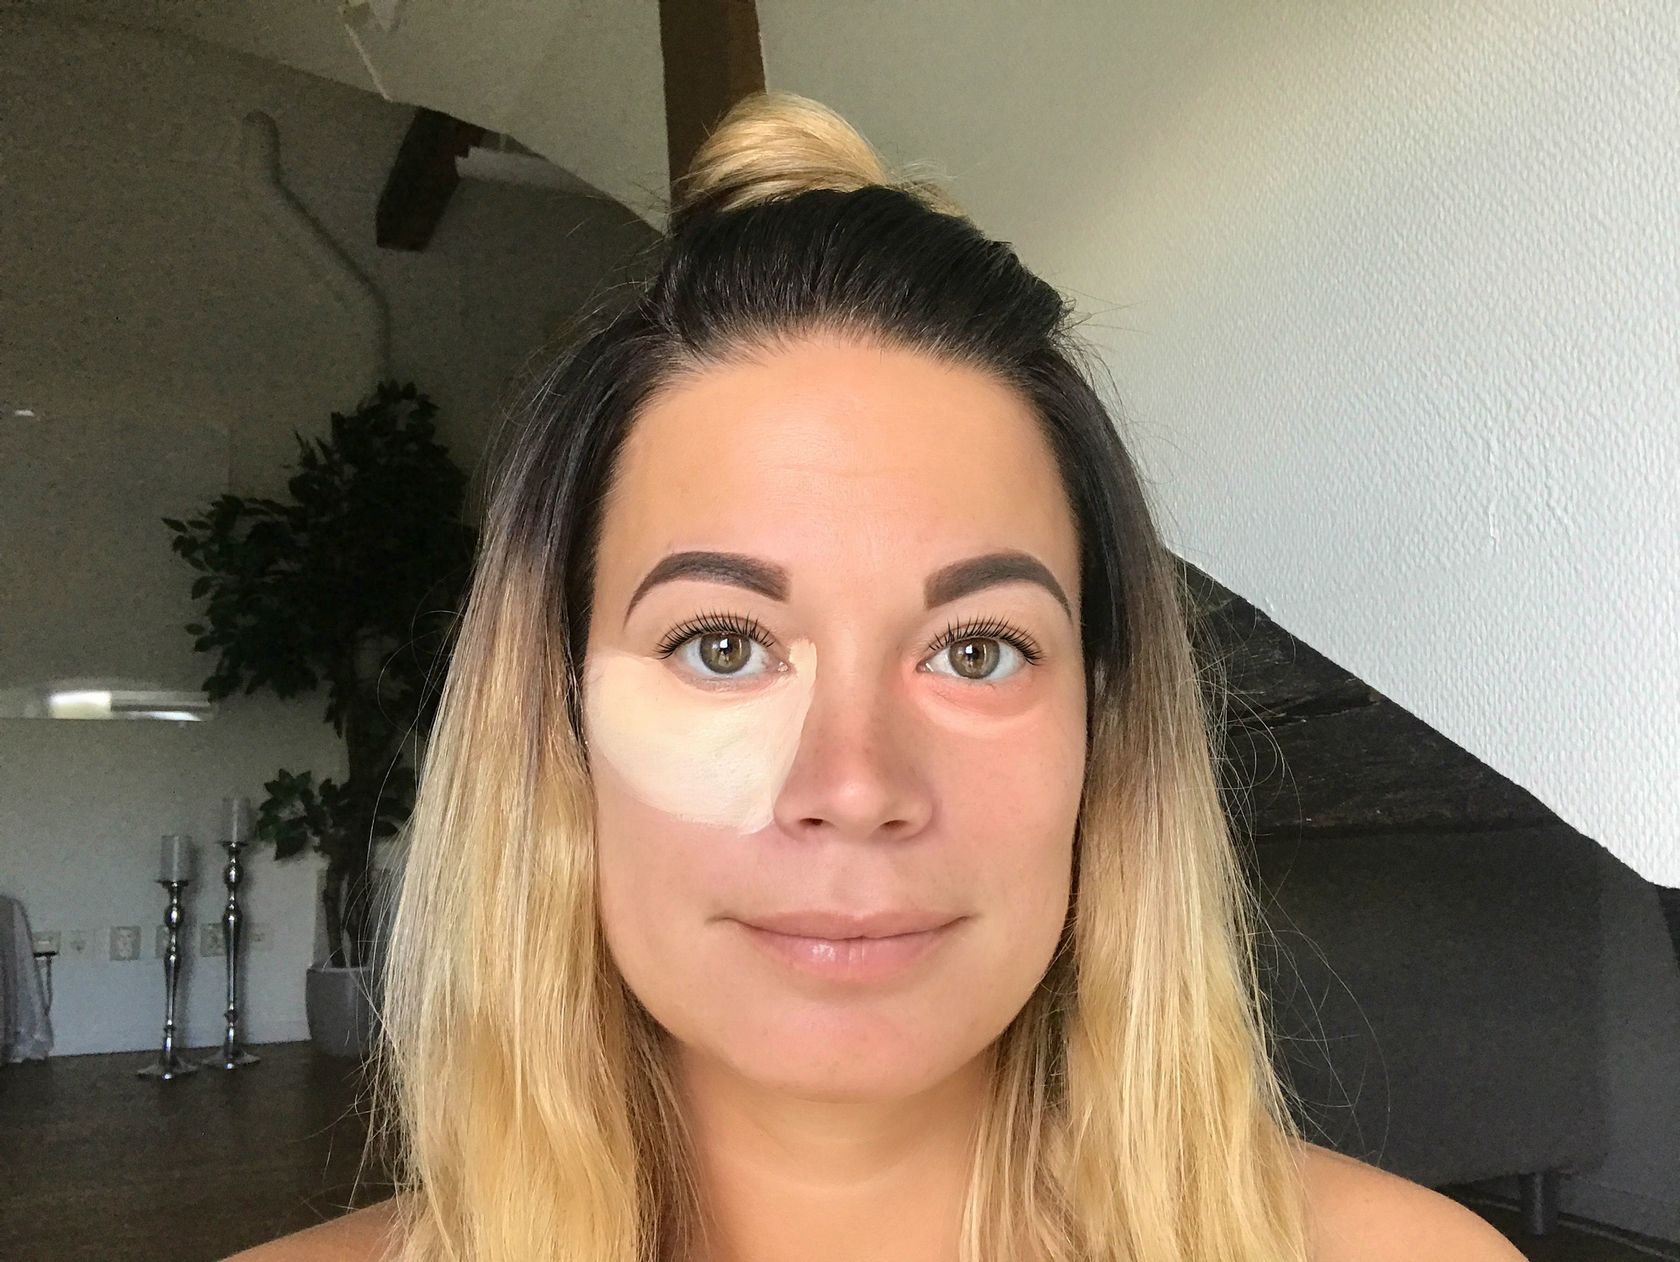
Step 4 – Next, apply a bright line on the edge of the dark bag under your eye to “cut off” the shadow that highlights it. To see the edge better you can pivot your head slightly downwards in the mirror and the edge should appear more clearly.

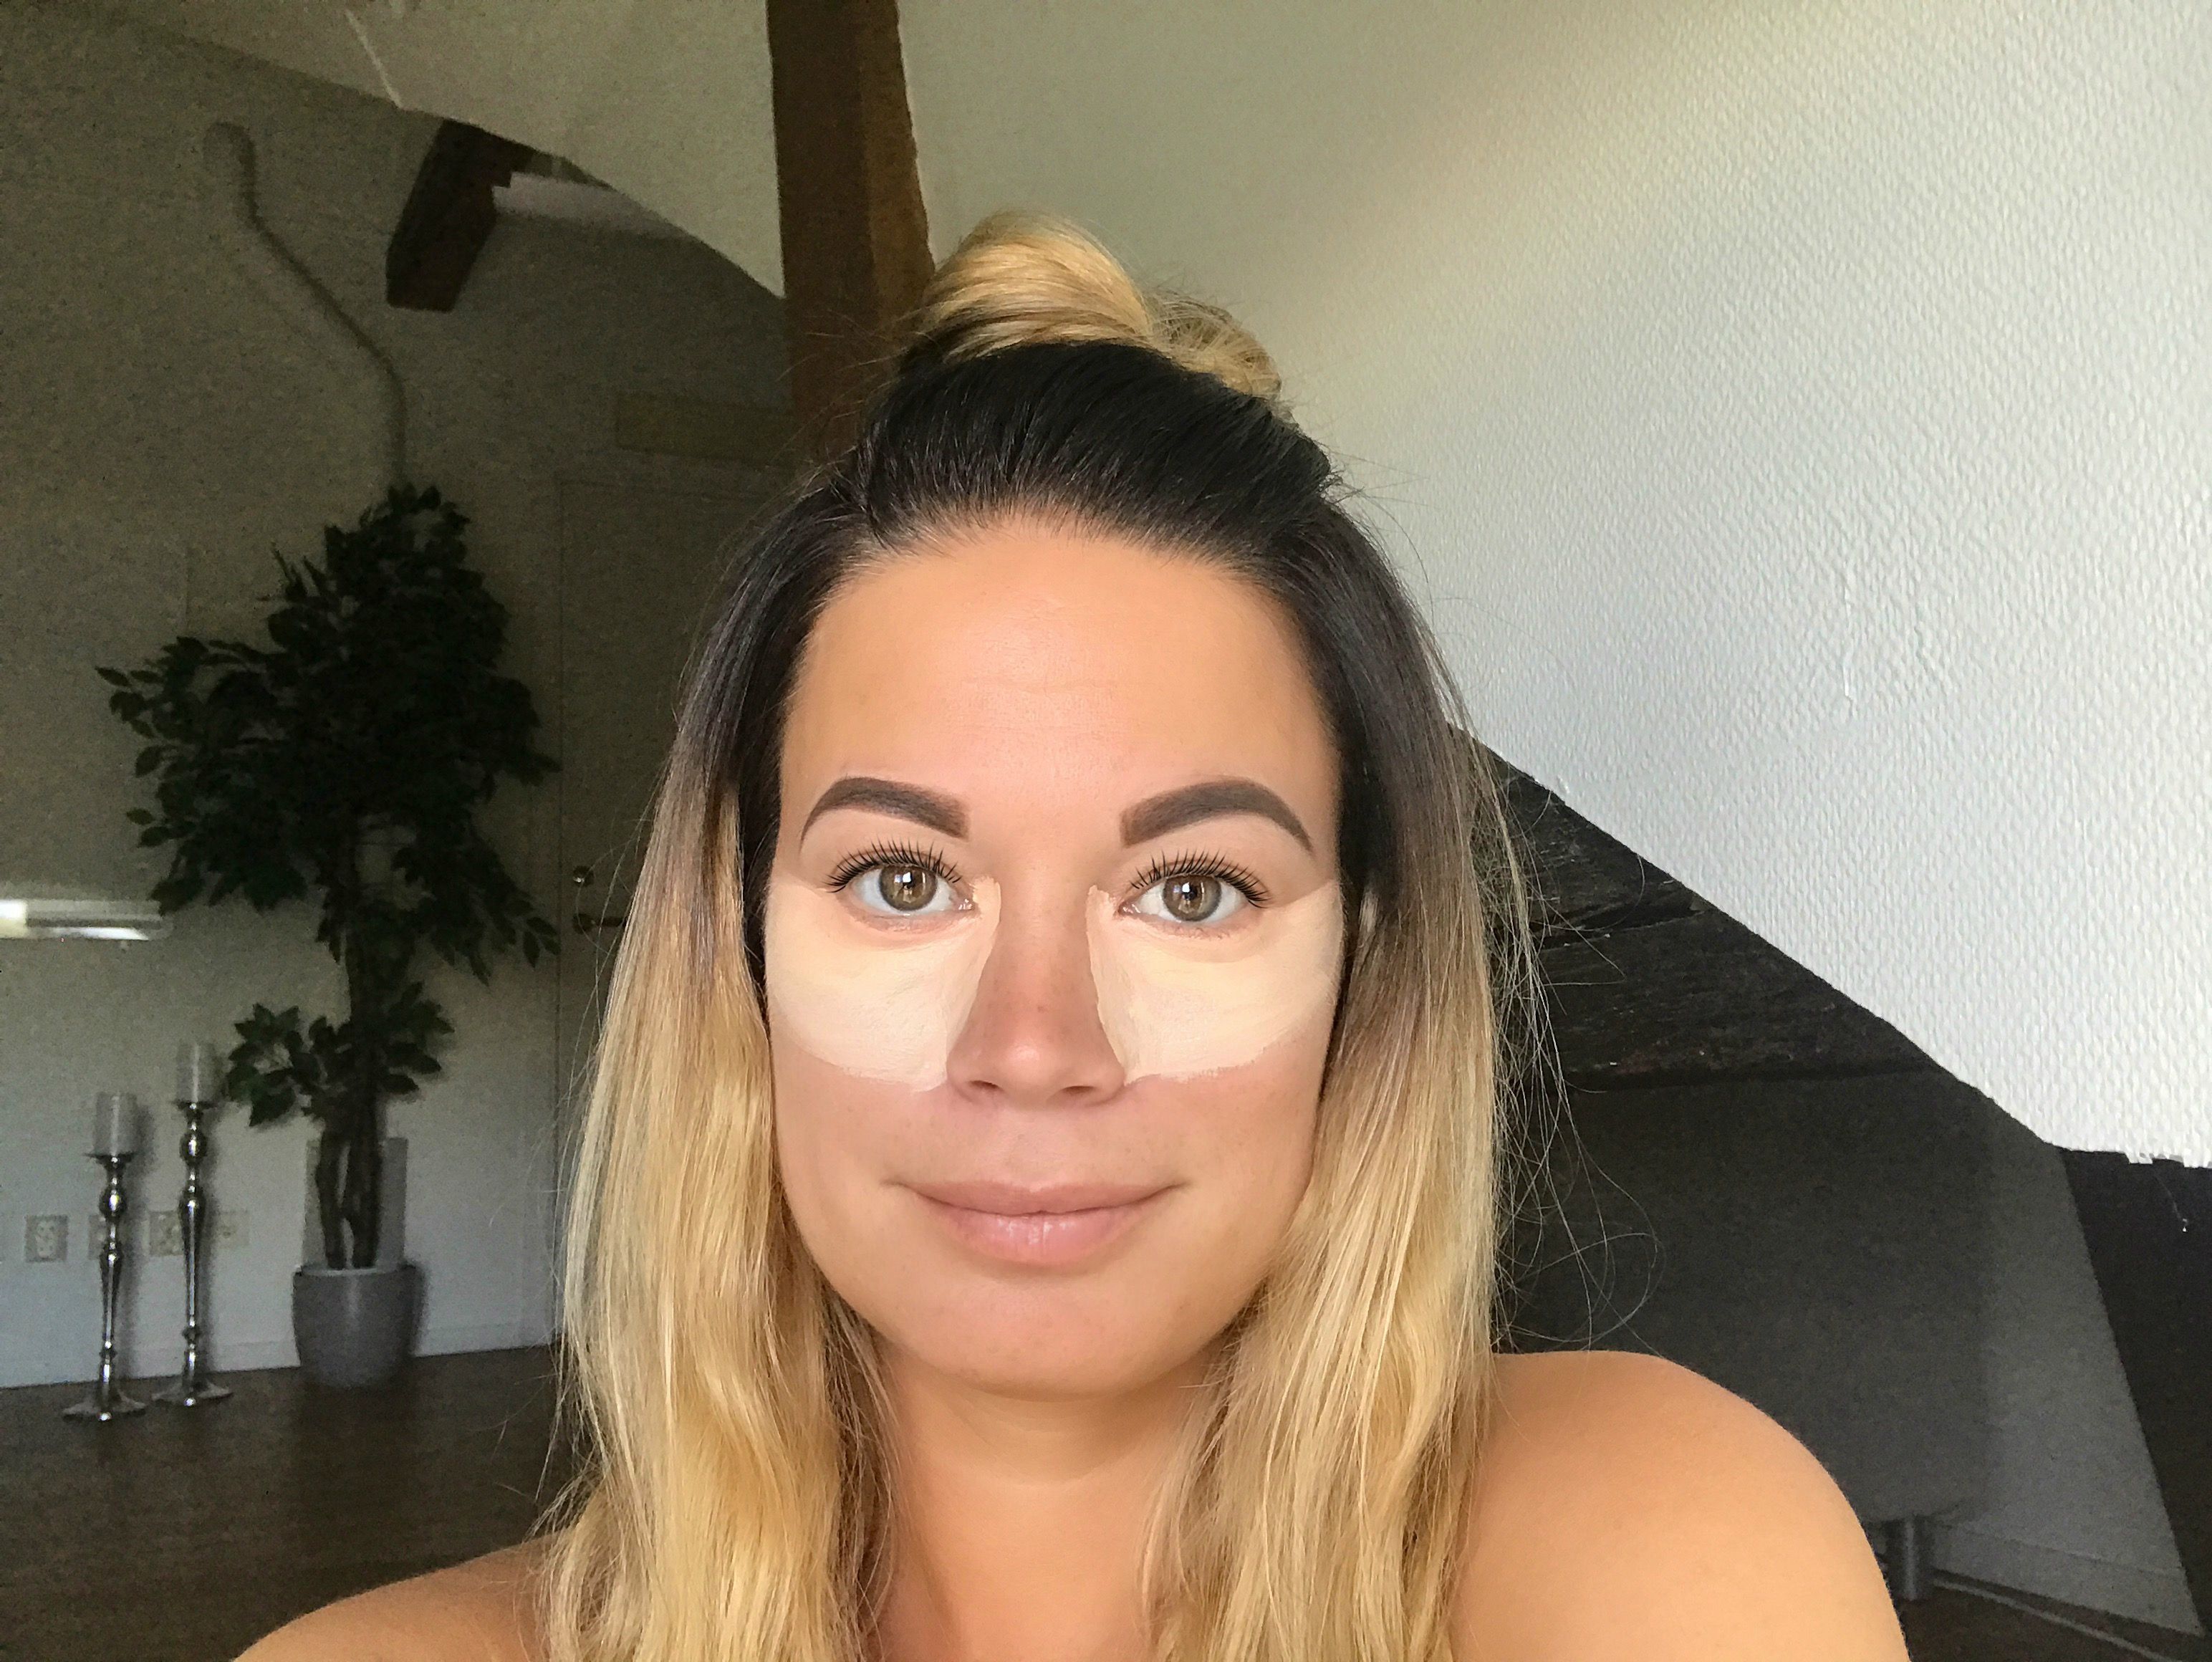
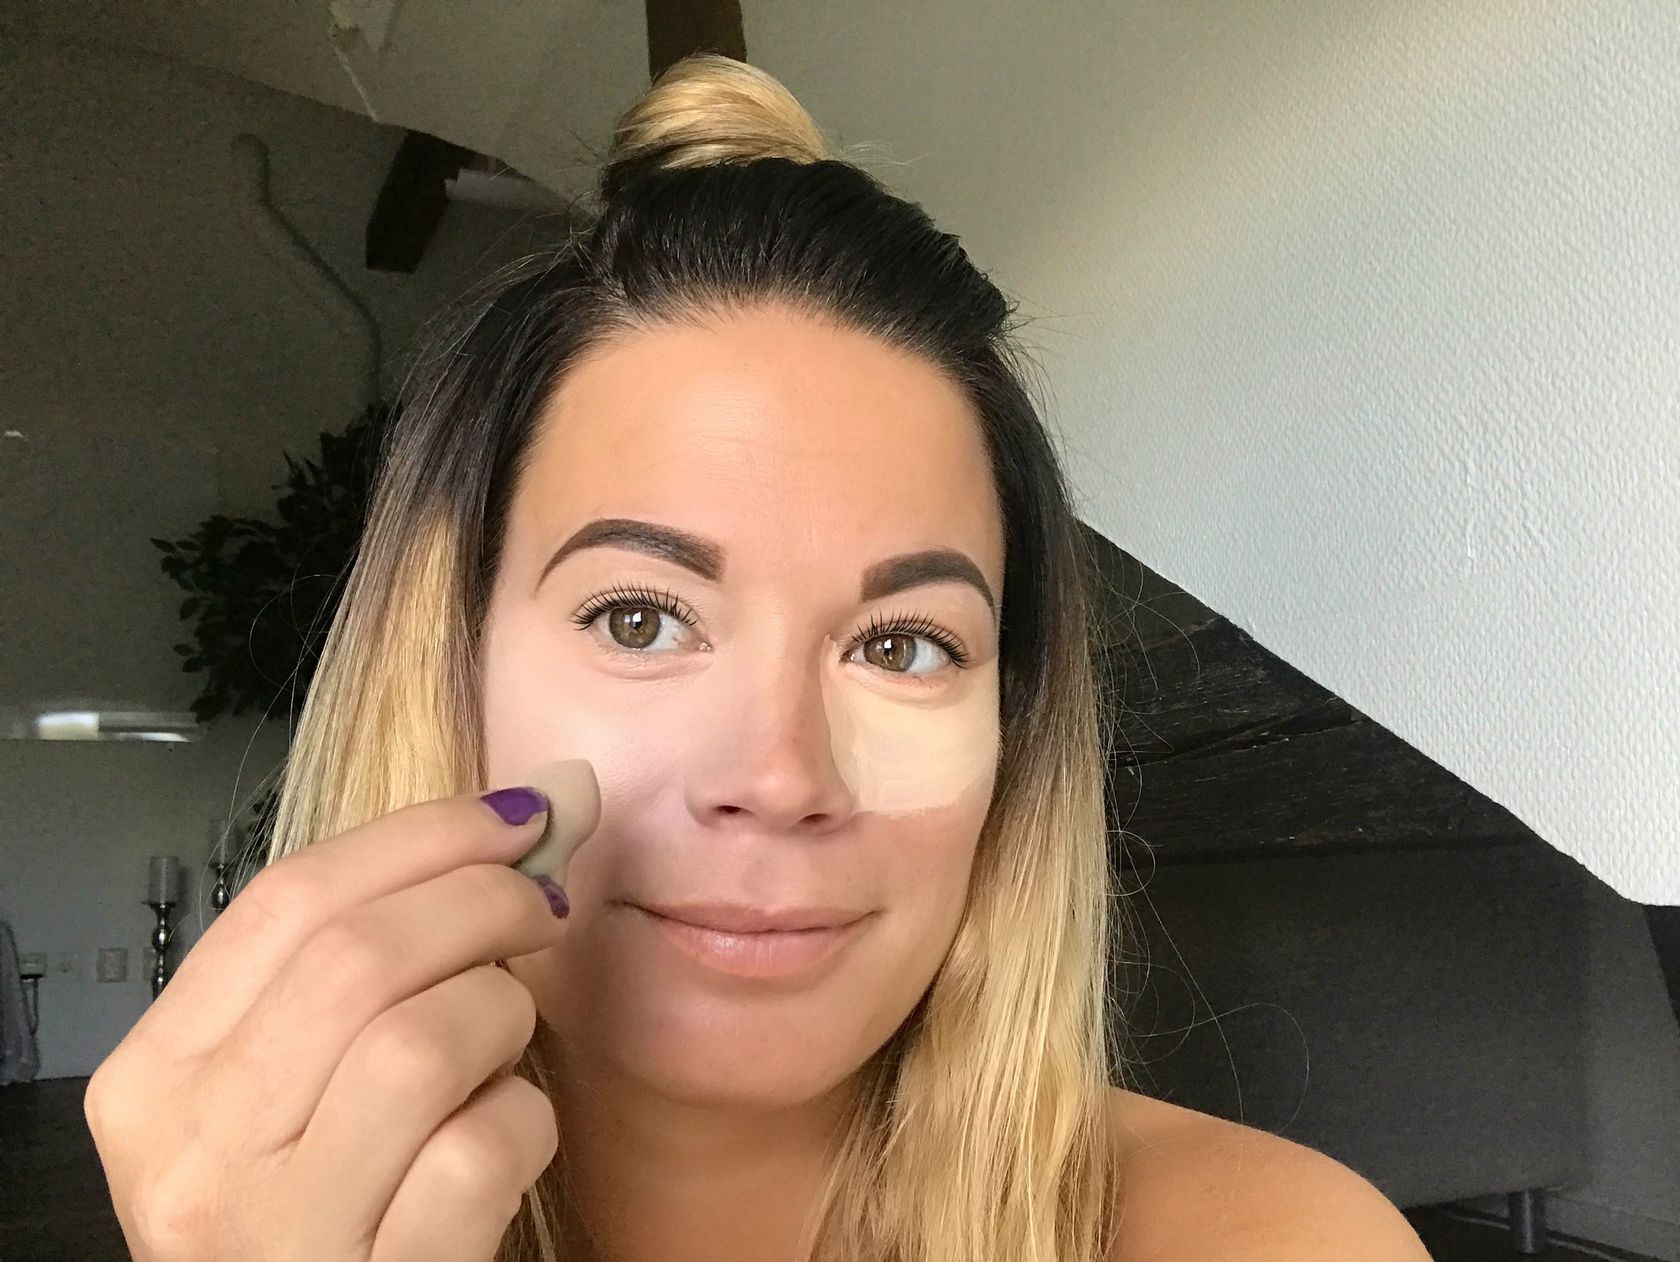
Step 5 – Apply a liquid concealer in a triangle as demonstrated in the picture and let it dry for 30 seconds. After that, take a beauty blender and buff out the concealer so that it’s smoothened out in an even layer

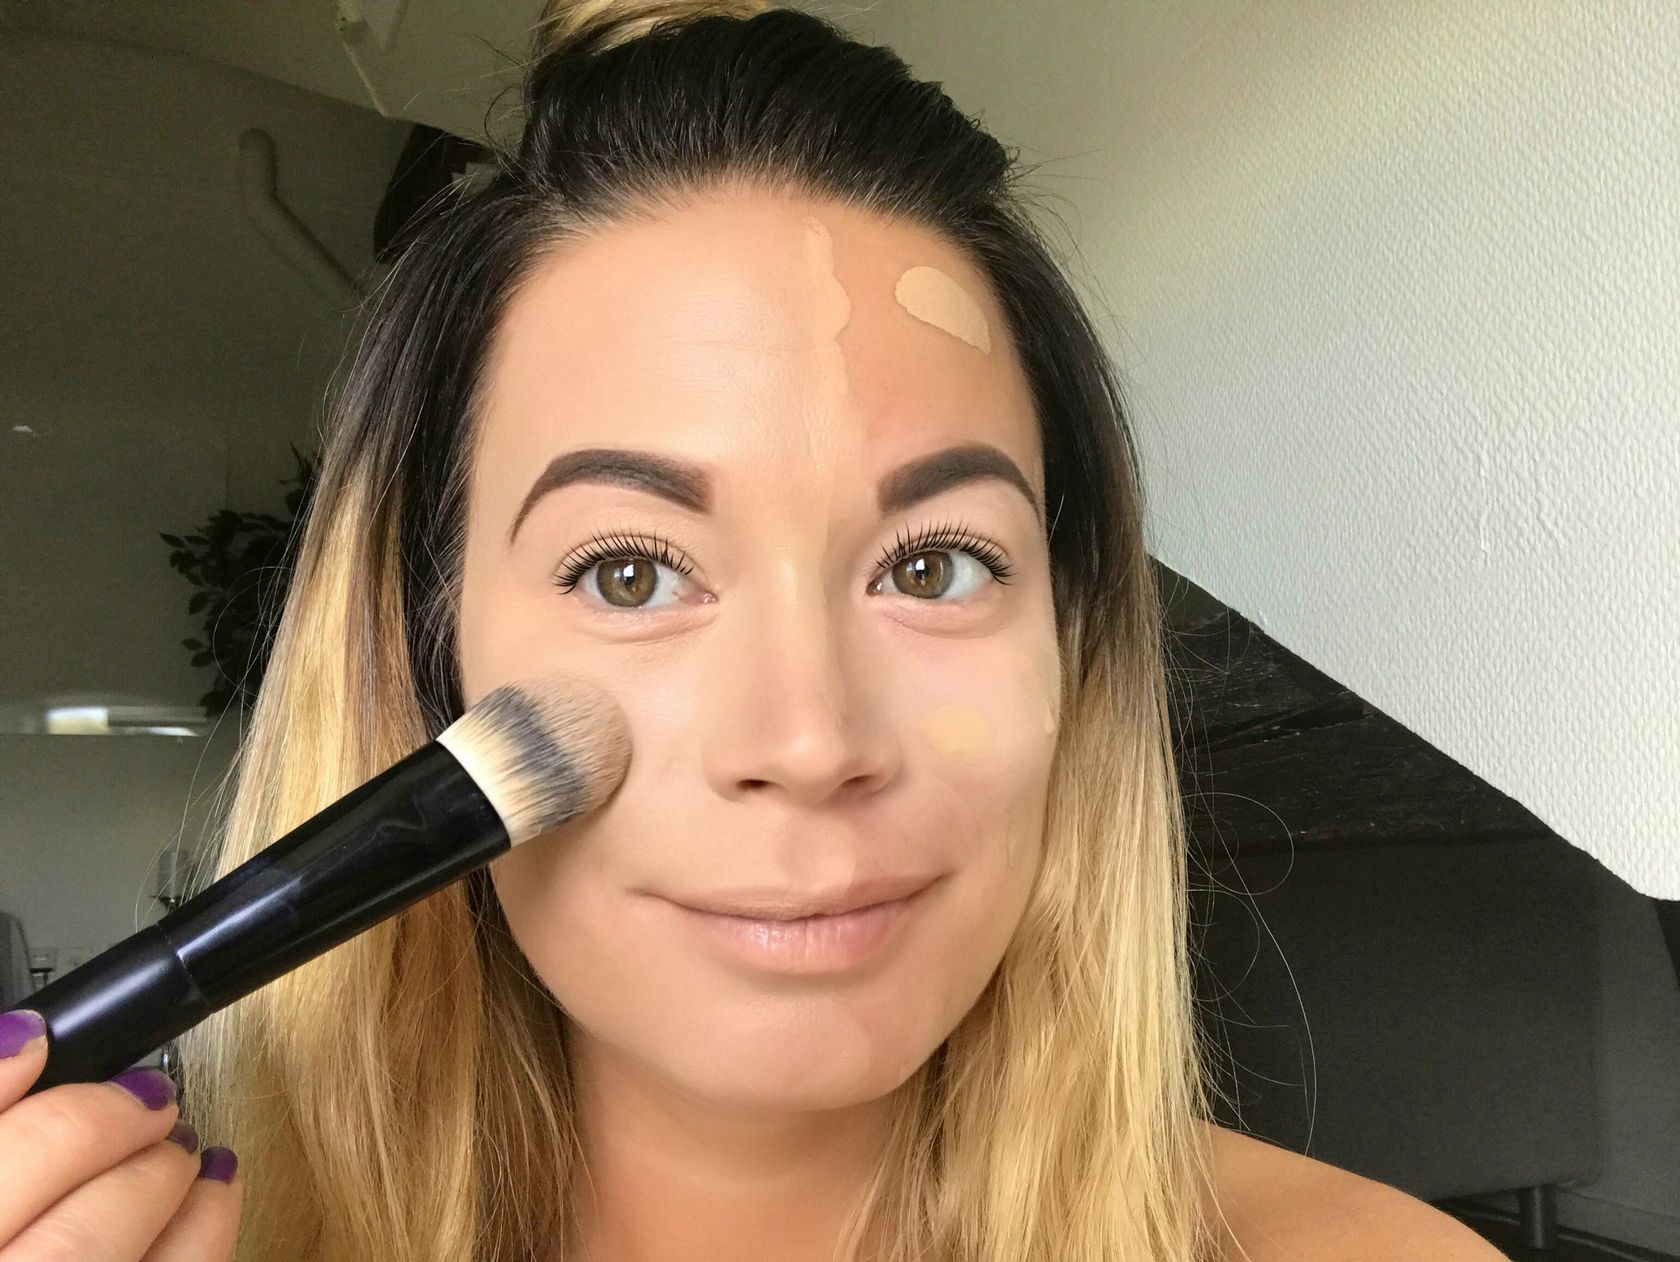
Step 6 – Now we are going to apply the foundation and it should always match your skin tone as closely as possible. Preferably, you should not be able to distinguish the foundation from your skin after application.

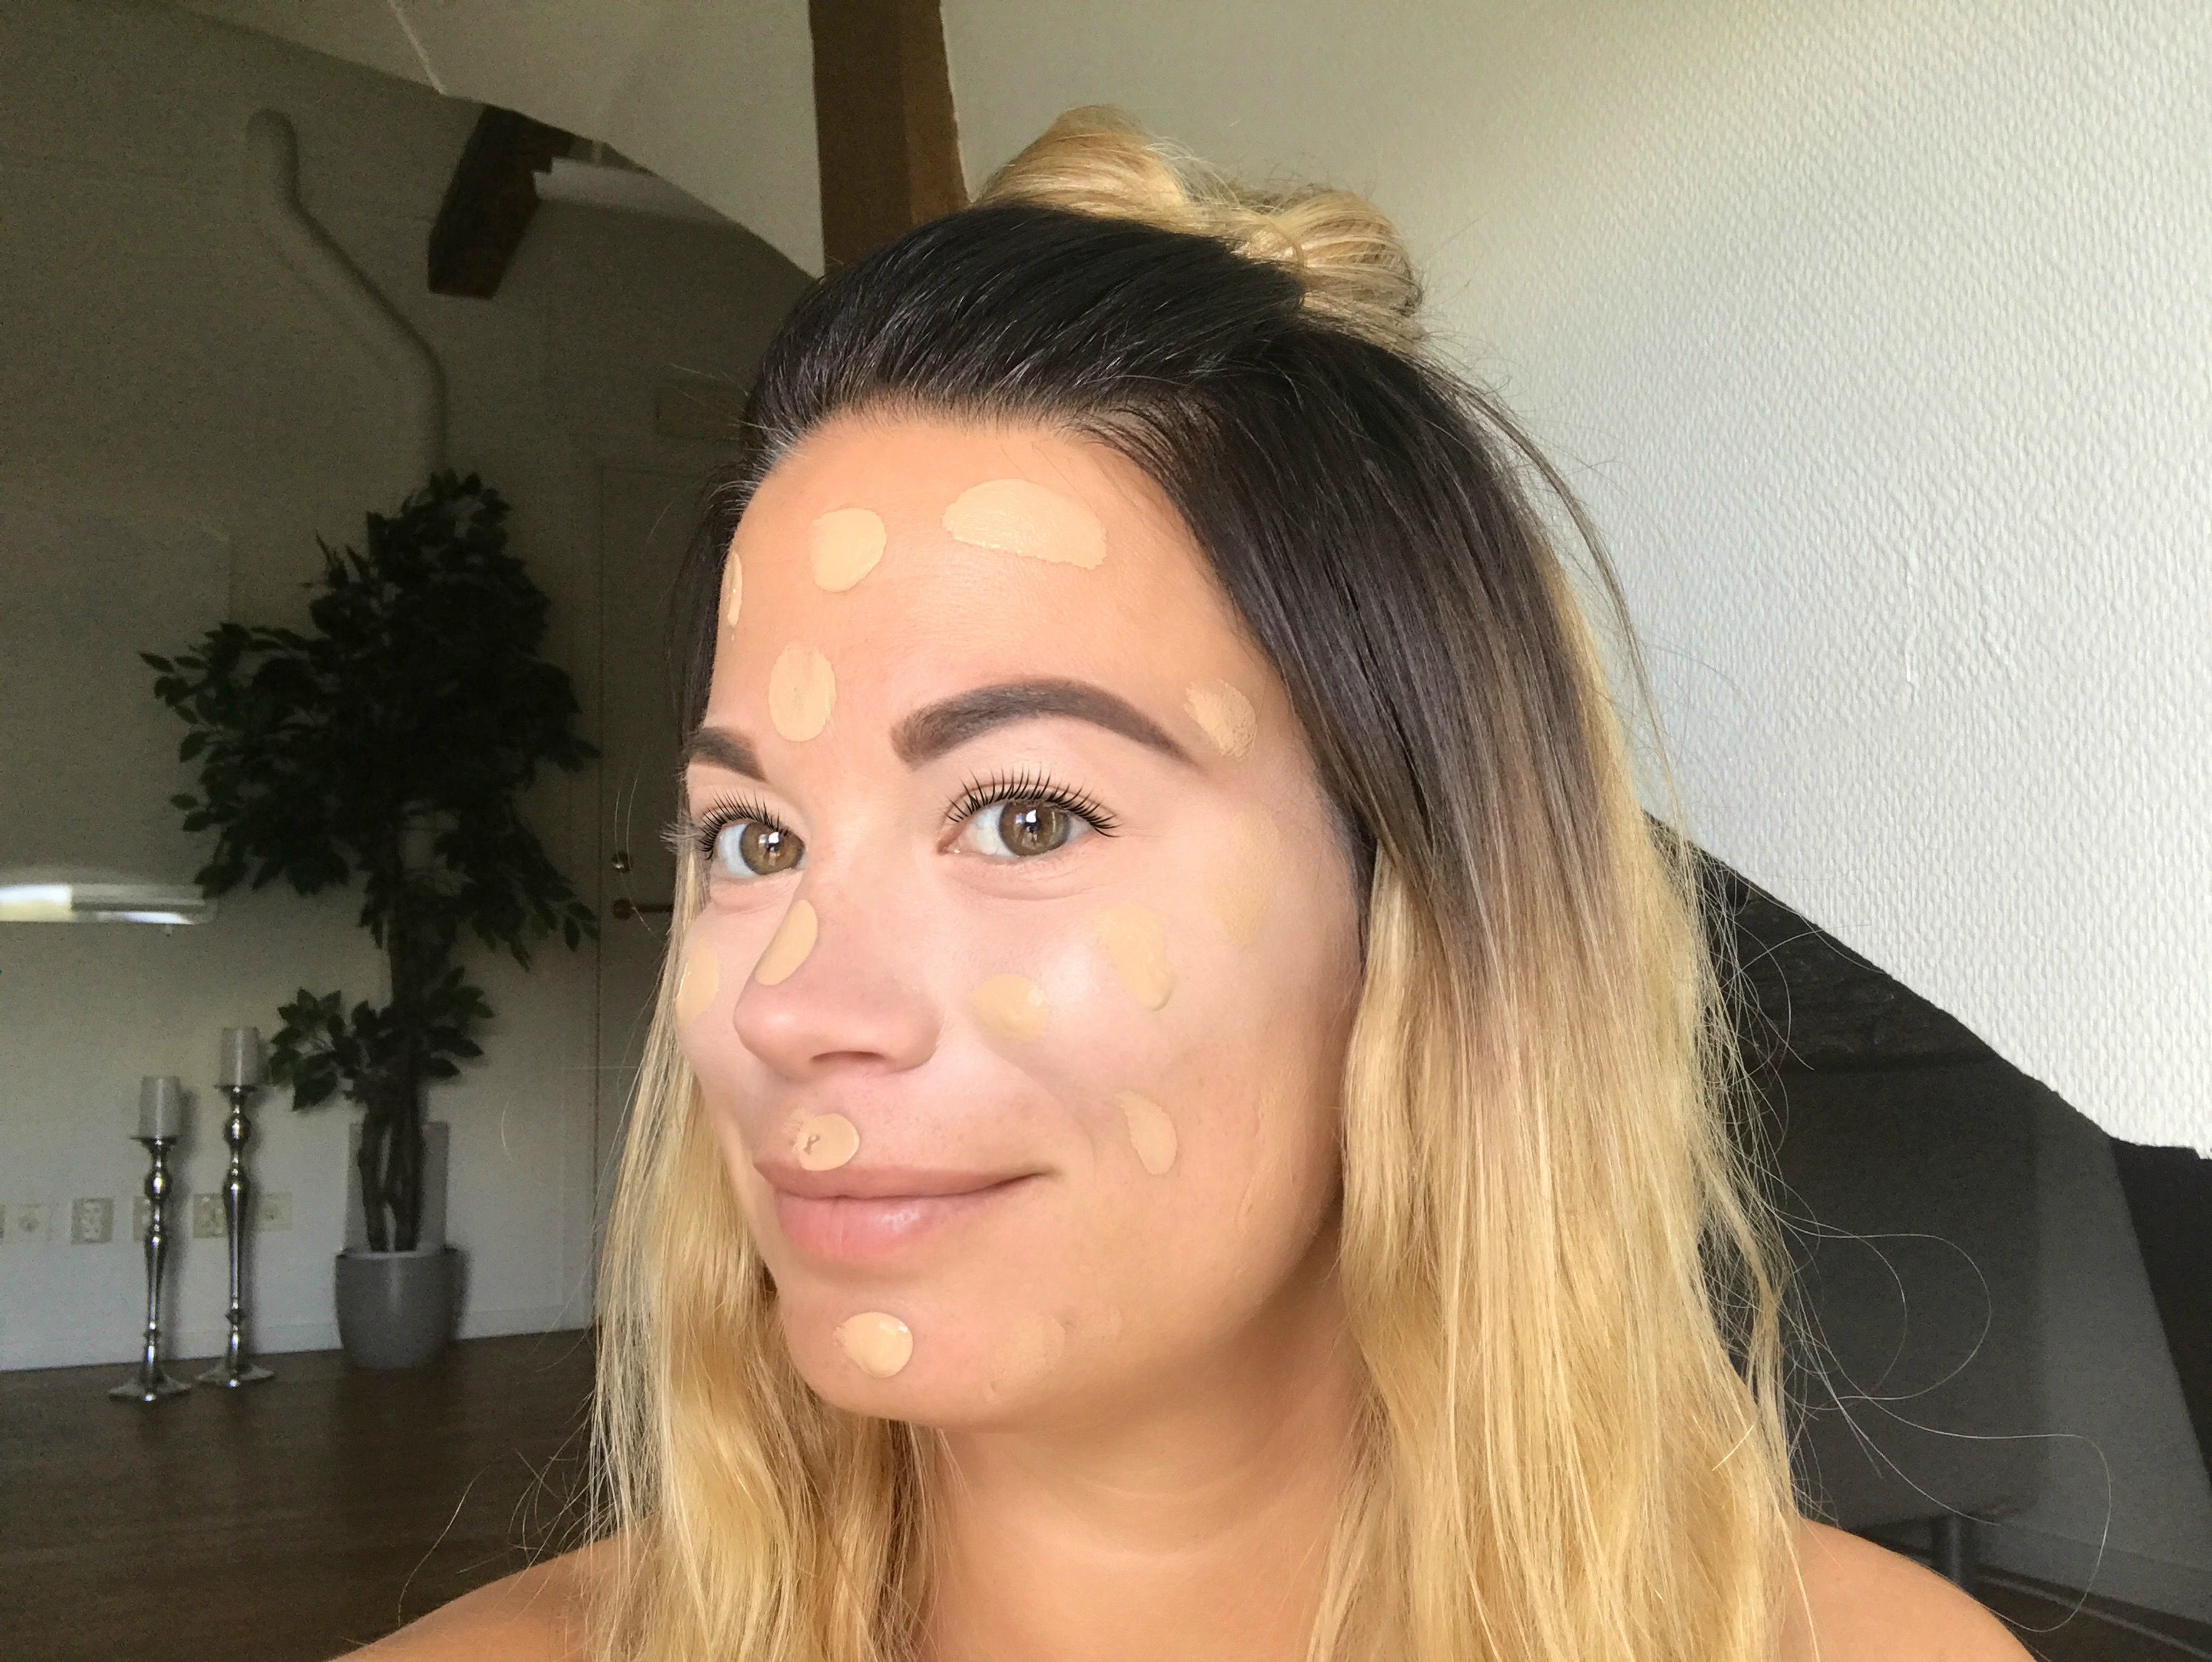
Step 7 – If you feel there is a need for it, you can apply more concealer after you have applied foundation.
Apart from adding eye shadow, rouge, mascara, eyelashes and lipstick, the header image and the picture underneath is the final result after having followed this tutorial from step one.
If this tutorial has been of great help for you, please upvote it so that other people may know about it. Hopefully, it will be useful to them as well.
Kisses & Hugs,
Kili


COMMENTS