Are you someone who dreams of having a pair of beautiful, long, and full eyelashes that look natural? Or perhaps you wish for a pair of lashes that are more visible and defined? I love all kinds of lashes, so I’ve tried false eyelashes that you attach with glue and magnetic eyelashes where you attach one false lash on top of another using magnets.
My search for a pair of false eyelashes that can be quickly and easily incorporated into your everyday makeup routine has led me to the lashes I’m going to show you in this tutorial. I’ll show you how step by step, you can achieve the lashes of your dreams in less than 1 minute.
IMAGE: UNSPLASH
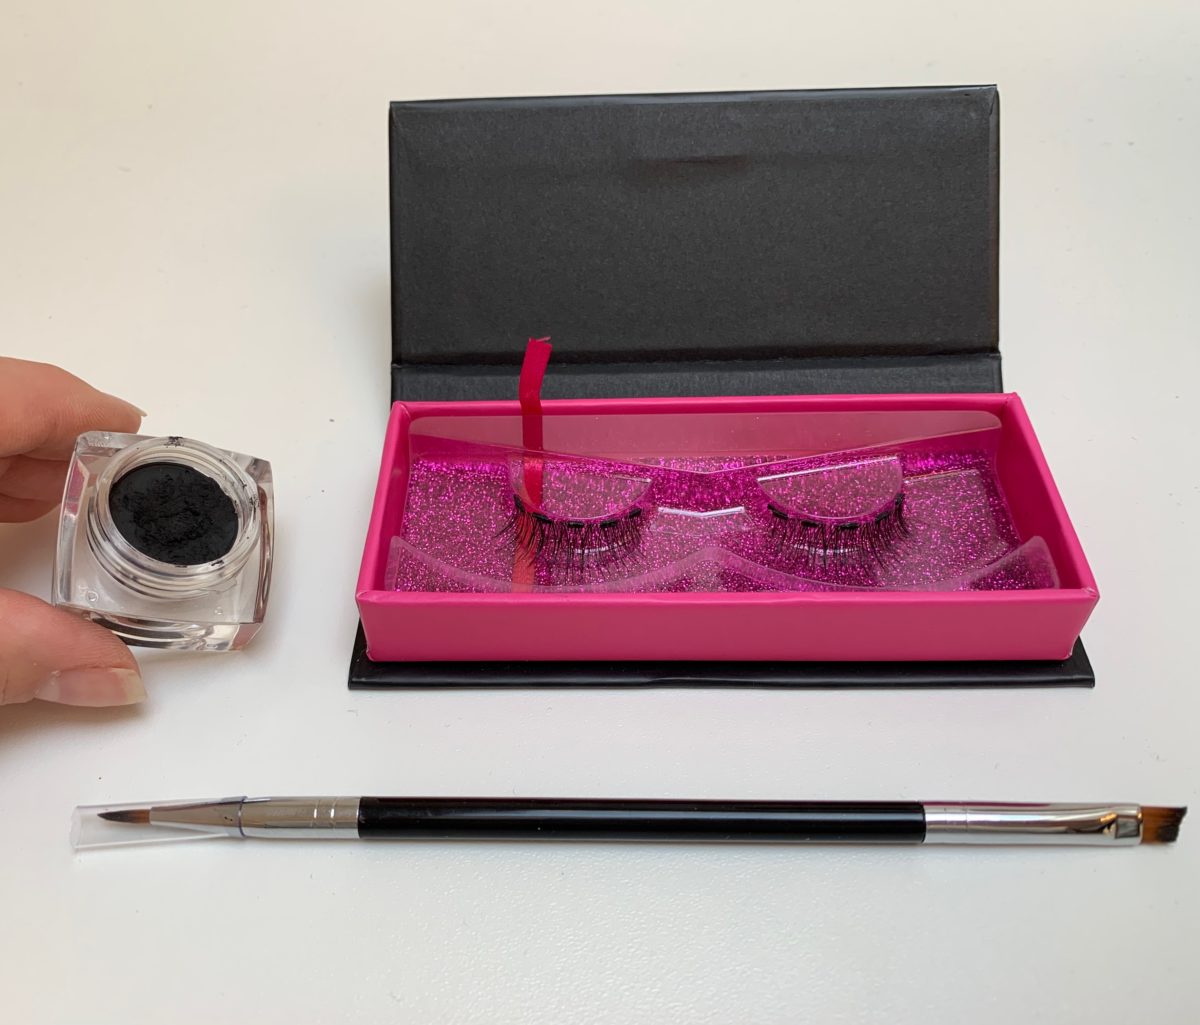
MoxieLash – Super False Eyelashes MoxieLash has a brilliant method where you can quickly, easily, and mess-free get a pair of beautiful eyelashes. They have a magnetic eyeliner that you apply to the upper lash line, and then you place the lashes on it. The false eyelashes have tiny magnetic plates that quickly adhere to the eyeliner.
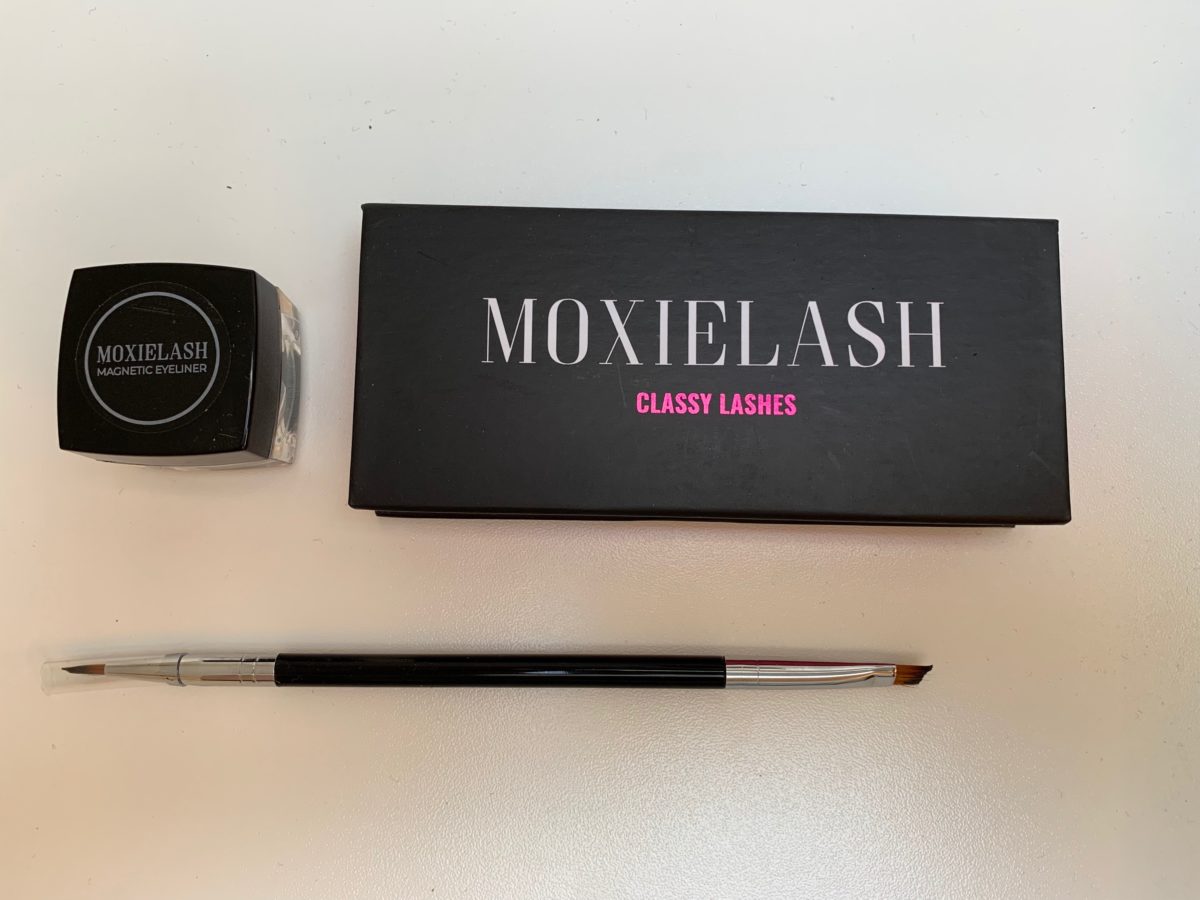
The magnetic eyeliner is available in both gel form, which you apply with a brush, and liquid eyeliner. MoxieLash offers five different models, and in this tutorial, I’m demonstrating the Classy lashes model along with the gel magnetic eyeliner.
Step 1
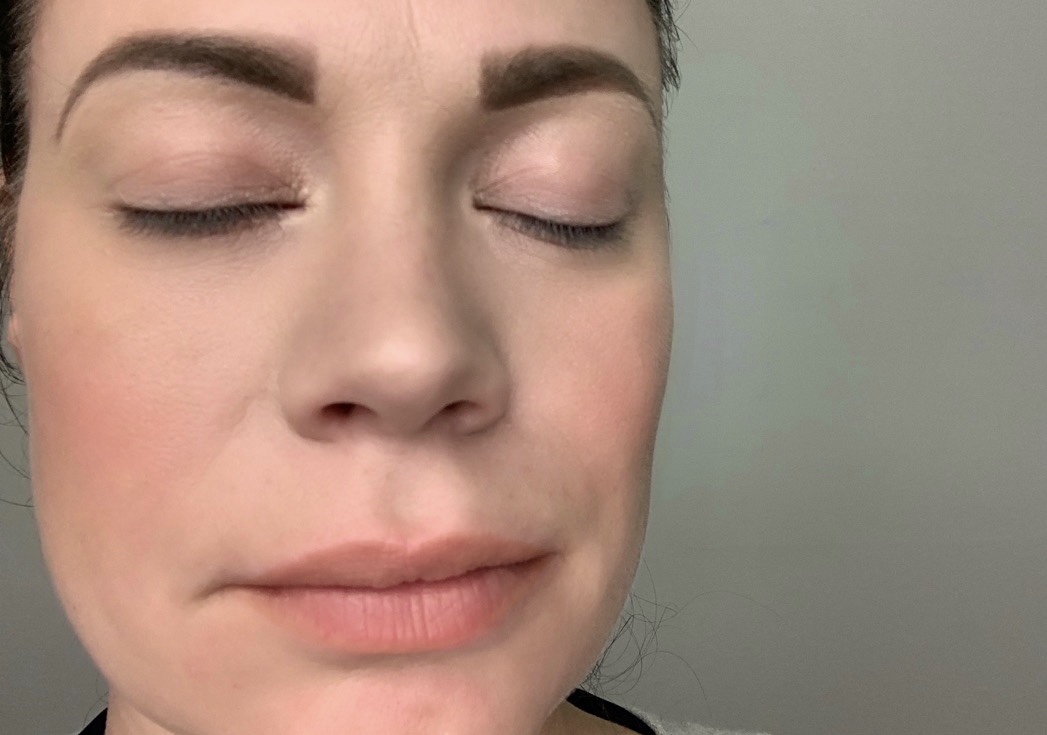
Always apply your eye makeup before starting to apply false eyelashes. Begin by cleaning the magnets on the false eyelashes quickly with cotton swabs. This ensures optimal adhesion. Apply the magnetic eyeliner from the inner corner of your eye and work your way out towards the outer edge of your eye. Start with a thin line to create the shape you want for your eyeliner. Then, add more eyeliner if you want to make the line thicker. Let the eyeliner dry for about 30 seconds.
Step 2
Now it’s time to attach the false eyelashes. Gently remove the false eyelashes from the packaging. Make sure you’re placing the right lash on the right eye. You can determine this by looking at which side the lashes are longest.
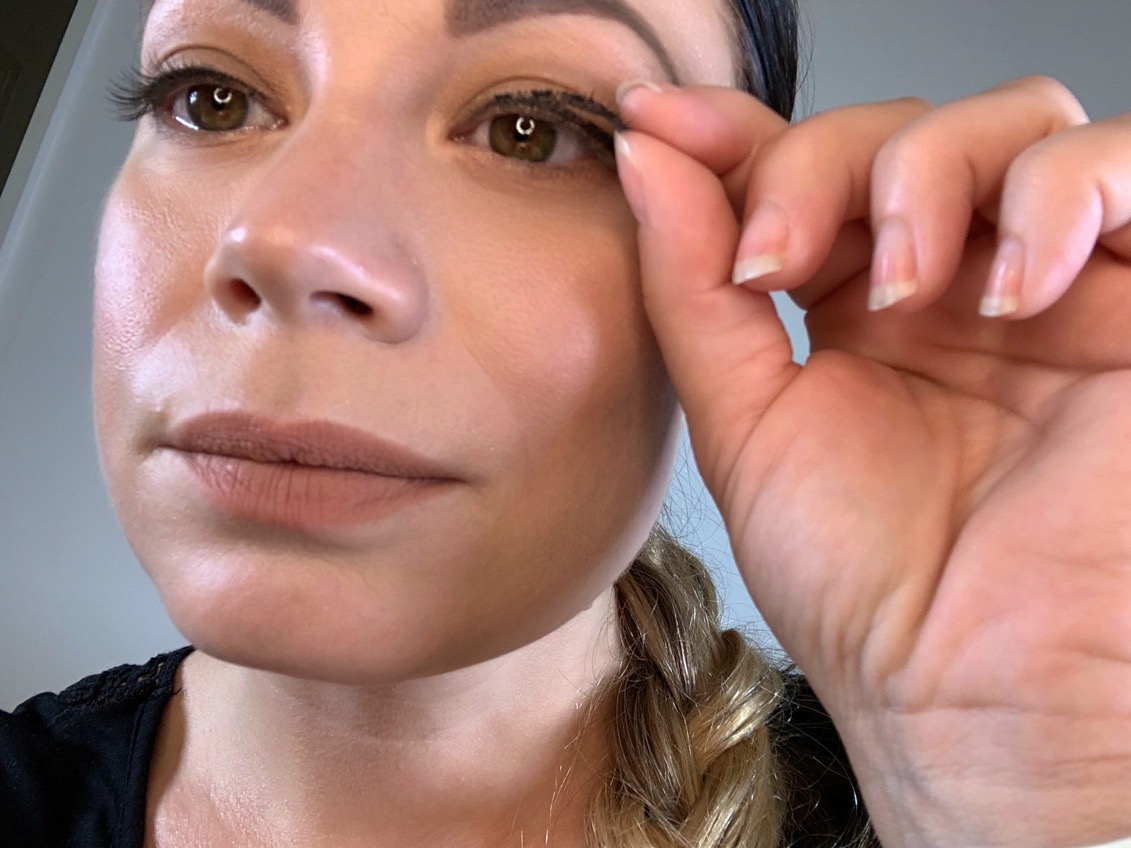
The side with the longest strands should be towards the outer edge of your eye. Take the lash and gently place it against the eyeliner as close to your own lash line as possible, and the lash will snap into place. If you need to adjust the lashes, you can remove them and reapply.

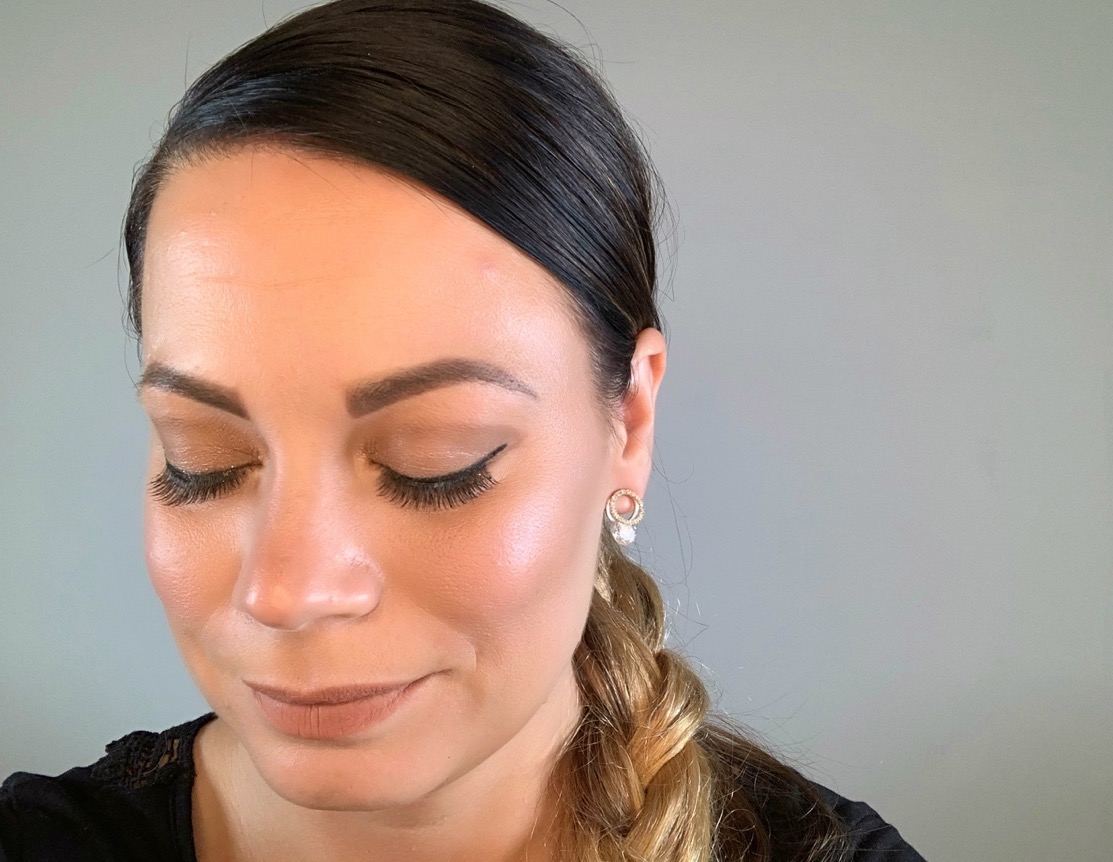
After Use
When you want to remove the lashes, it’s important to clean the magnets before placing them back in the packaging. This MoxieLashes package that I’m showing in this tutorial is good for up to 30 uses per lash. Furthermore, these false eyelashes are “cruelty-free,” which is always a bonus. To enhance, lengthen, and strengthen your natural eyelashes, you can try using eyelash serums.
Conclusion
If you’re a person with a busy life and have struggled to find time to apply false eyelashes in the morning, this could definitely be the solution to your problem. I ordered my product on Amazon, and they currently have three out of the five models that MoxieLashes has produced.
You can find the models Classy, Bossy, Cheeky, Foxy, Money, Baby, and Sassy on Amazon. It’s always fun to have a variety of models for different occasions. I hope you’ve found this tutorial useful and that it has given you new ideas on how to quickly and easily achieve those dreamy lashes.

IMAGE: PEXELS
If you’re interested in more articles about makeup and information from us here at Makeup By Kili, we have plenty to choose from.

COMMENTS